JavaScript and Ruby on Rails :: Full-stack web development "Hello World" tutorials for entrepreneurs: Part 3 of 10

This post is part 3 of a 10-part series within a series that is designed to teach full-stack web development for entrepreneurs. Here we’ll dive into JavaScript and introduce Ruby on Rails models, migrations, and PostgreSQL.
JavaScript
While HTML defines the parts of a document, and CSS styles it, JavaScript is what brings it to life and makes it dynamic. Because JavaScript is a full scripting language like Ruby, it takes many years to become proficient with it. So, knowing that, in this tutorial series we’ll take it one step at a time and refer you out to homework to learn more about the language in depth.
Before we begin, we’re going to commit our work from the previous section and push it up to Github. Be sure to do the git status and git diff again to make sure you didn’t accidentally create or modify anything you didn’t intend (your changes should look like this commit diff), and then:
- git add .
- git commit -a -m "Hello World example in CSS"
- git push
Good. Now let’s open up our index.html.erb file again and add a button on line 3:
<button id="click_me_button">Click me</button>And in our application.css.scss file, put at the bottom
#click_me_button {
  margin-top: 30px;
}
This gives us a little more margin at the top to space it out from our CSS hello world div.
Next, let’s put the start of a Hello World list at the bottom of our index.html.erb file:
<ul id="hello_world_list">
<li>Hello World Start</li>
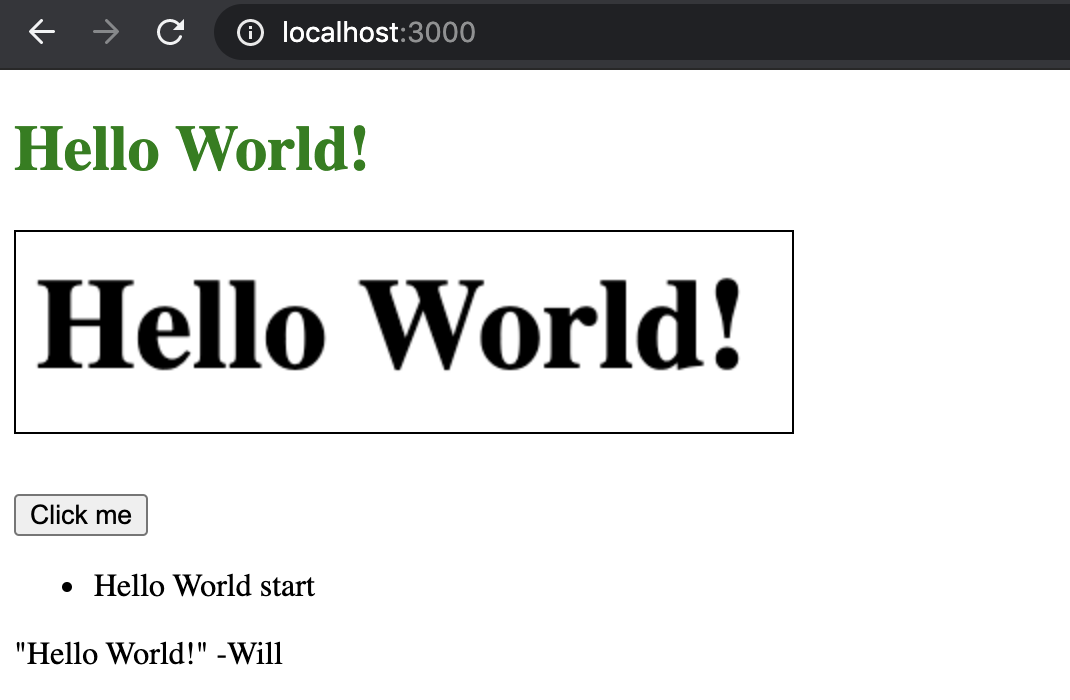
</ul>This should produce for you the following:

Now, to wire up the button to append a “Hello World” to the list when you click it, add this to the bottom of your index.html.erb file:
<script type="text/javascript">

  const clickMeButtonEl = document.getElementById("click_me_button");
  const helloWorldListEl = document.getElementById("hello_world_list");

  var addHelloWorldToList = function (event){
    var itemEl = document.createElement("li");
    itemEl.innerHTML = "Hello World!";
    helloWorldListEl.appendChild(itemEl);
  }

  clickMeButtonEl.addEventListener("click", addHelloWorldToList);

</script>
Save the file and reload to your browser page, and you’ll see the button wired up to add new elements to that list.
How did that work? Well, we added a script tag to our HTML document that allowed the browser to read JavaScript inside our HTML. Typically we would tuck away our JavaScript in a separate file and include it in the HTML head section, but for educational purposes here we just put this tag and JavaScript code in the same file.
What we’re doing with this JavaScript code is first setting up two constants - i.e. variables representing the click me button element and the hello world list element (i.e. the <ul> tag, which stands for unordered list. If you used a <ol> tag it would put numbers in place of the dots.)
The children of the <ol> element (which is referred to as the “parent”) are the “list item” tags (<li></li>). Our addHelloWorldToList function is called every time we press our click me button, and what that function does is create a new itemEl, set its innerHTML to “Hello World!:, and then append that new element as a new child to our list.
Finally, that last line is setting up a listener on our button so that when it is clicked, it calls our JavaScript function addHelloWorldToList to do its thing.
As you can probably tell, the world of JavaScript is extremely vast. We’ll be using it quite extensively throughout this tutorial. For homework, you are going to want to get yourself up to speed with JavaScript with this tutorial from W3Schools.
To wrap up this section, similar to what we did above, let’s do a git status and git diff to check our work (and/or you can check it in VSC) - which should look like this commit diff - and then commit and push:
- git commit -a -m "Hello World in JavaScript"
- git push
This will save our code safely in GitHub. Note that we didn’t need to add any files because we didn’t create any new folders or files.
Rails models, migrations, and PostgreSQL
Remember above when we created a controller and a view? Well, let’s create a model called Quote that will correspond to a table in our database called quotes.
First, in our app>models folder let’s create a file called quote.rb and have it contain simply the following:
class Quote < ApplicationRecord
end
Which will look like this in VSC:

Next we are going to generate a “migration” file in Rails to create our quotes table, in your terminal at your quotesapp folder root, enter:
- rails g migration create_quotes
What you’ll want to do next is open that file in VSC, which you can do by searching for it (ctr+t) or browsing to the db>migrate folder to open it. In that file make it the following:
class CreateQuotes < ActiveRecord::Migration[6.0]
  def change
    create_table :quotes do |t|
      t.text :content
      t.string :author_name
      t.timestamps
    end
  end
end
What we are setting up here is a file that will have Rails automatically create a table in our PostgreSQL database called “quotes” with two columns: one to hold the content of our quote, and another to hold the name of the quote author. Our content is of type “text” and our name is “string”. This is because “string” is limited to 255 characters, whereas “text” can be quite large.
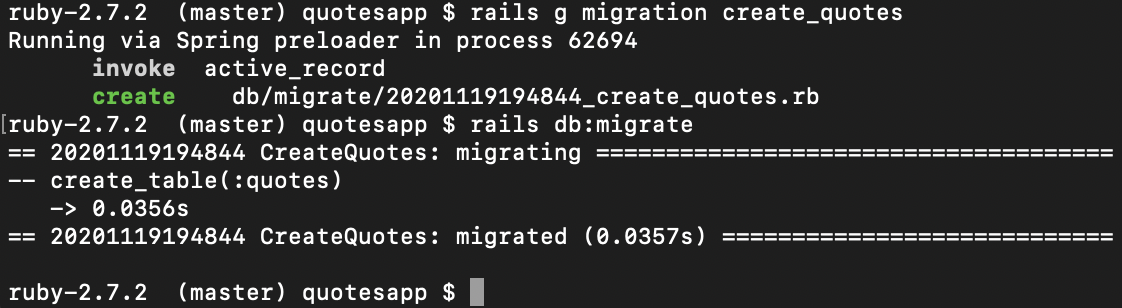
Next, let’s go ahead and run that migration in our terminal at our quotes app root:
- rails db:migrate
You should see something like this in your output:
From here we are going to create our first quote by firing up our “rails console” and manually creating one. Be sure to replace “Your Name” with your name.
- rails c
- Quote.create(content: "Hello World!", author_name: "Your Name")
- exit
After your created the quote you should see a bunch of output like this:

Obviously the specific Ruby/Rails versions and timestamps will be different for you, but this should give you the general idea of what you should expect to see.
As you might be able to tell, Rails is doing a fair amount of magic for us to communicate with our database when we issued that create() method on our Quote model. This is called Object Relational Mapping (ORM) and it helps speed up web development significantly.
And, if you are not familiar, an “object” - in any programming language that uses objects - is a data structure that contains variables and methods. Ruby is an object-oriented programming language. As we go along, we’ll be creating “Quotes” objects throughout our application that will have a variety of methods and variables available to them.
Now, let’s bring this first quote of ours to life in our browser by using Embedded Ruby again.
In our index.html.erb file, let’s add to the bottom:
<% quote = Quote.first %>
<p>"<%= quote.content %>" -<%= quote.author_name %></p>
Save the file and refresh your browser, and you’ll see something similar to:
As we go along, we’ll follow best practices such as defining an object (i.e. assigning it to a variable) in our controller method to use in our views as-needed. But for now, the above shows you the basics of how MVC works: we established a model (Quote), a controller and method to send routes to (welcome#index), and a view to render things (index.html.erb) within our template file (application.html.erb).
Remember to git status & git diff to check on things to be sure you don’t commit anything you don’t intend to commit (your changes should look like this commit diff), then:
- git add .
- git commit -a -m "Hello World with a quotes model"
- git push
At this point we’ve covered quite a lot, but we’re not done yet. For homework on this section, you’ll want to check out https://guides.rubyonrails.org/. Specifically, since we just covered setting up a model file, start here and read more in depth about Active Record.
Comments
Interested in participating in the comments on this article? Sign up/in to get started:
By signing up/in with Satchel you are agreeing to our terms & conditions and privacy policy.