Stimulus.js, StimulusReflex, and CableReady :: Full-stack web development "Hello World" tutorials for entrepreneurs: Part 4 of 10

This post is part 4 of a 10-part series within a series that is designed to teach full-stack web development for entrepreneurs. Here, we’ll dive into Stimulus.js and StimulusReflex with CableReady.
Stimulus.js
Now that you’ve been exposed to the basics of HTML, CSS, JavaScript, Rails, and scripting in Shell and Embedded Ruby, now we’re going to consider more meta-level languages, tools, libraries, and patterns to help speed up the process of developing amazing experiences for users.
For background, HTML itself has a meta-language called HAML that is meant to facilitate writing faster/cleaner HTML. HAML is compiled into HTML before being served to web browsers. We probably won’t use HAML much in this tutorial series, but it’s good for you to know it exists.
CSS has a meta-language called Sass, which we used briefly above. Saas compiles down to CSS and is meant to help web developers write faster and cleaner CSS. Since CSS can be written many different ways with many different patterns, there are conventions such as BEM and ABEM that help keep developers on the same page when building out large applications.
In addition, CSS has full-on frameworks such as Bootstrap and TailwindCSS. These frameworks are meant to quickly allow developers to create clean User Interfaces (UIs) that are responsive (i.e. look good no matter the screen dimensions or pixel resolution). In this series we’ll be using TailwindCSS (it’s worth taking a minute to read about it here, but we’ll learn it along the way).
JavaScript (JS) is it’s own world full of meta-level languages (such as CoffeeScript) that compile to JS, There are tons of best-practices and conventions when writing with JS that we’ll use throughout this tutorial (such as always defining variables and functions in “camelcase”, i.e. with a lowercase letter at the beginning likeThis or likeThisThing).
Importantly, there are tons of JS libraries out there that are intended to facilitate faster/cleaner development, and the first one we’ll look at is called StimulusJS.
To get started, we are going to install stimulus with the yarn package manager. In your terminal at the quotesapp folder root, enter:
- yarn add stimulus
This will install a few things:
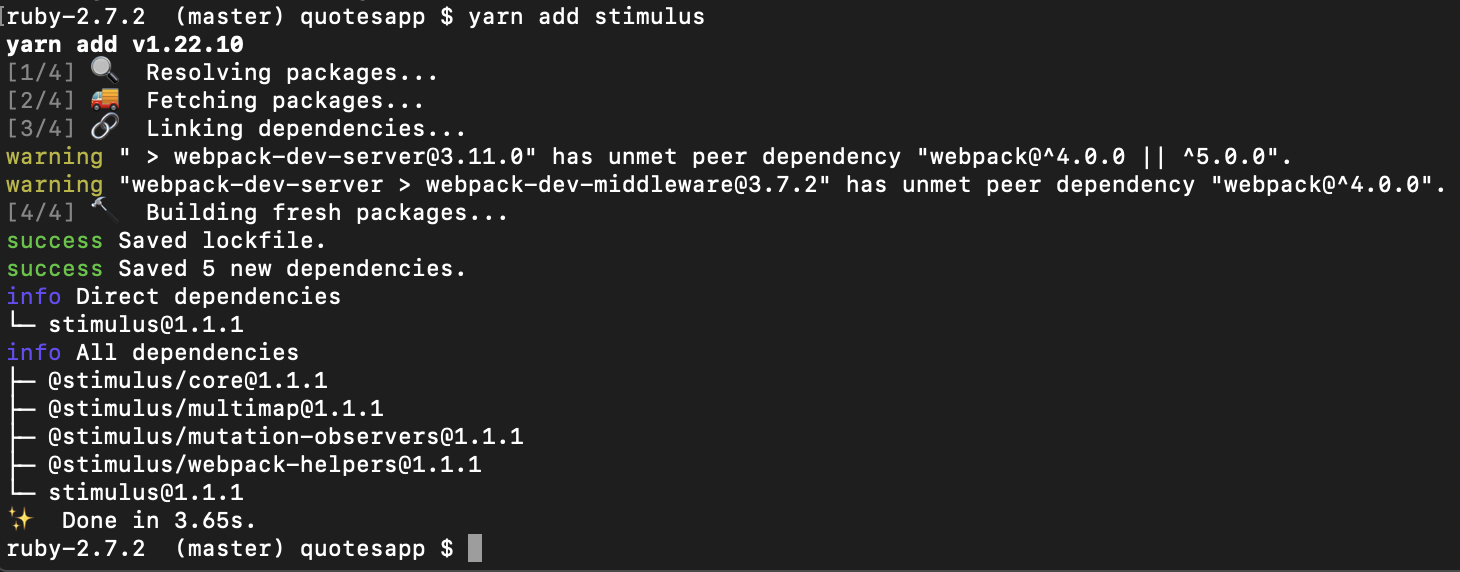
FYI, when you install things with any package manager (on pretty much any platform), you will often get “warning” messages like this. These are FYIs that will be important as you get more advanced in your career, but for now it is OK for us to ignore them and move on.
Next, we are going to create a folder inside app>javascript called controllers and inside that new folder we’ll create a file called index.js,
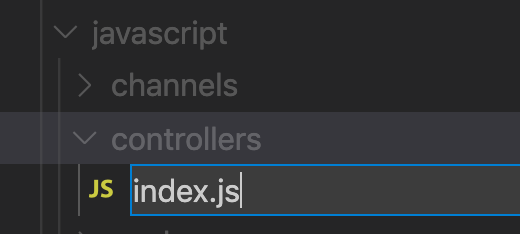
… where we’ll put the following code:
import { Application } from "stimulus"
import { definitionsFromContext } from "stimulus/webpack-helpers"

const application = Application.start()
const context = require.context(".", true, /\.js$/)
application.load(definitionsFromContext(context))
Next, open up your app>javascript>packs>application.js file and on line 10 add:
require("controllers")Now let’s create a controller called hello_controller.js in our app>javascript>controllers folder and in it we’ll put:
import { Controller } from "stimulus"

export default class extends Controller {
  static targets = [ "list" ]

  addHelloWorld() {
    const listEl = this.listTarget
    var itemEl = document.createElement("li");
    itemEl.innerHTML = "Hello World from a Stimulus controller!";
    listEl.appendChild(itemEl);
  }
}
And finally, in our app>views>welcome>index.html.erb file at the bottom let’s put:
<div data-controller="hello">
  <button data-action="hello#addHelloWorld">Click me</button>
  <ul data-target="hello.list">
    <li>Hello World Stimulus.js Start</li>
  </ul>
</div>
Make sure your Rails server is still up and running (“rails s” in your terminal), and visit http://localhost:3000 where you’ll see another “Click me” button that, when clicked, should output the following:
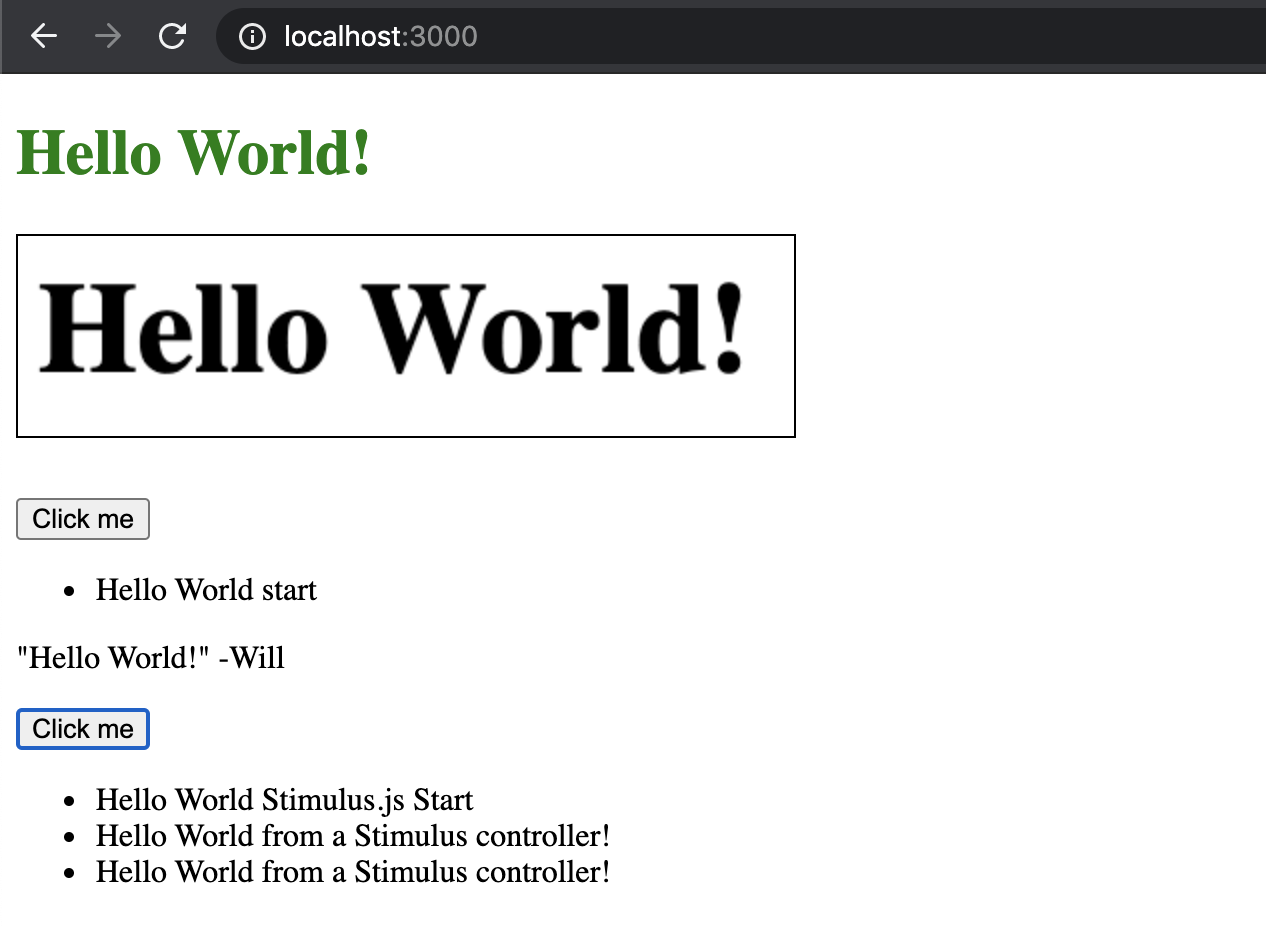
As you can see, the behavior is similar to what we wrote above in the JavaScript section, but instead of vanilla JavaScript we used the StimulusJS framework to wire it up. This is another way to accomplish the same thing, which seems trivial with such a small example, but there are a variety of reasons why using a framework is important when building more complex applications.
So, how did that work?
Well the first thing we did above is install Stimulus and wire up Rails to import our Stimulus controllers into our application.
Then we created a Stimulus controller called hello_controller.js and imported the Controller class from the StimulusJS package we installed via yarn. We then extended that class to declare our “list” target element and create a simple addHelloWorld() function.
Then, to finish it off we put our special <div> in our index.html.erb file, wired it up to be controlled by our Stimulus controller, and put in our button and list stub to be ready for action.
Inside our controller, a notable line was this:
const listEl = this.listTarget
Importantly, by defining our “list” as a target in our controller, it magically allowed this.listTarget to identify our list element.
Also, by putting our data-controller="hello" attribute in our div tag, we declared that this div should be controlled by our hello controller, and the “data-action” and “data-target” attributes were put in the appropriate tags to wire things up and bring it to life.
For further reading, I would highly recommend you read the Stimulus Handbook and study more in depth how Stimulus works under the hood.
SImilar to above, be sure to check your git status/diff - which should look like this commit diff - and then:
- git add .
- git commit -a -m "Hello World with StimulusJS"
- git push
Your commit should look similar to this commit.
StimulusReflex with CableReady
At this point it is worth taking 10 minutes to watch the below demo from the creator of StimulusReflex and CableReady. Don’t worry about following along with your own new app and editing environment (unless you want to!); the most important thing I want you to take away from this is to see how modern web applications use WebSockets to update web browser elements in real-time from external data updates. (In Rails this is done with ActionCable, which CableReady uses to help make our lives easier.) As a student, it’s also always helpful to see an experienced software developer make edits to their code:
https://www.youtube.com/watch?v=F5hA79vKE_E
Impressive, right? So let’s get started inside our own quotesapp hello world environment.
First, let’s add StimulusReflex and CableReady to our gems and yarn packages
- bundle add stimulus_reflex cable_ready
- yarn add stimulus_reflex cable_ready
We also need to change how Rails keeps track of user sessions in our development mode:
- rails dev:cache
This creates a file (tmp>caching-dev.txt) that, at the end of the day, allows CableReady to play nice with our setup. If you’d like to learn about what’s going on under the hood, check out line 15 in your config>environments>development.rb file.
Now, let’s open up our app/javascript/controllers/index.js file again and modify it to contain these two new import lines (put these right under the first two import lines):
import StimulusReflex from 'stimulus_reflex'
import consumer from '../channels/consumer'
And at the very bottom of the file put:
StimulusReflex.initialize(application, { consumer })This will result in our app/javascript/controllers/index.js file looking like this:
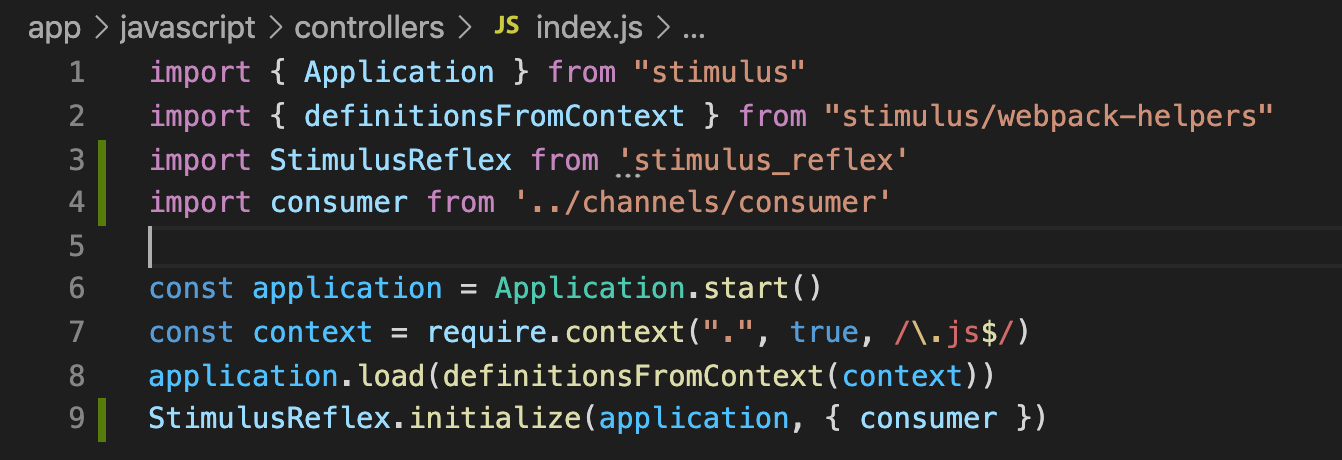
In VSC, those green bars on the left indicate new lines that were added. Note on lines 3 and 4 versus lines 1 and 2, in JavaScript it doesn’t matter whether you use single quotes or double quotes in your import declarations. We’ll tend to use double quotes in this tutorial series.
Next, in our config>environments>development.rb file, put the following on line 2:
config.session_store :cache_storeThis will result in the top of the file looking like:

Next, open up the config>cable.yml file and make the development section read:
development:
  adapter: redis
  url: <%= ENV.fetch("REDIS_URL") { "redis://localhost:6379/1" } %>
  channel_prefix: your_application_development
Which will look like this:

Make sure to save your file. What we did here was setup our local environment to use Redis, which is a simple data store held in memory that many apps use for queuing messages for things like background tasks (which we’ll use with CableReady to prep messages to be broadcasted).
Let’s make sure to add redis to our gems:
- bundle add redis
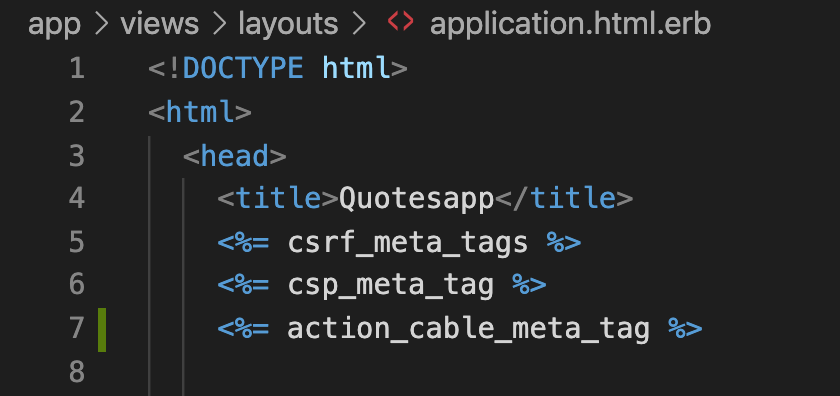
Finally, we’re going to open up our app/views/layouts/application.html.erb file and add on line 7:
<%= action_cable_meta_tag %>which will look like this:
Finally, let’s open up our app>channels>application_cable>connection.rb file and make it read:
module ApplicationCable
  class Connection < ActionCable::Connection::Base
    identified_by :session_id

    def connect
      self.session_id = request.session.id
    end
  end
end
Which will look like this:
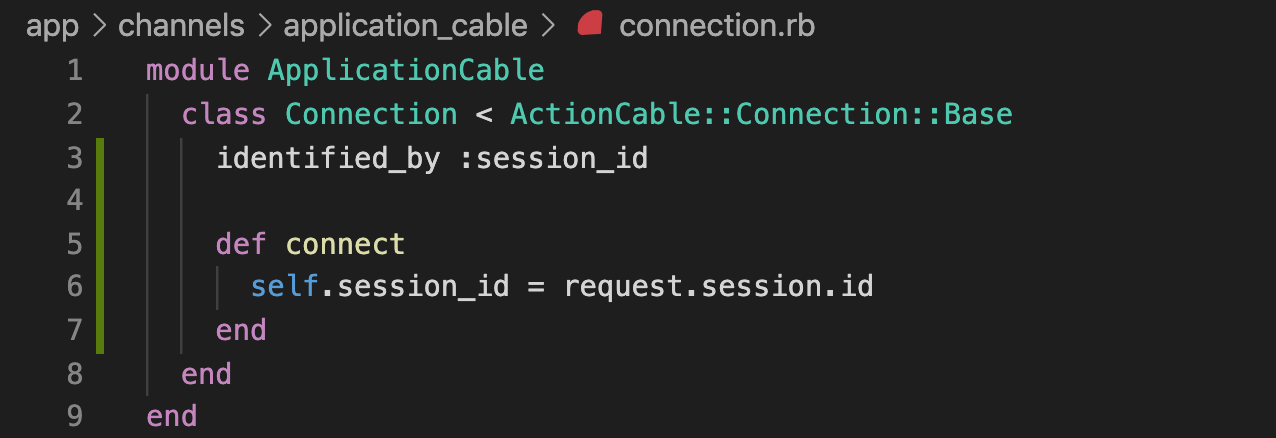
This allows us to isolate connections by the session_id so ActionCable knows where to broadcast things.
Next, we’re going to go ahead and create a simple form on our Hello World page to intake quotes and author names.
The first thing we’re going to do is set up a few things in our welcome controller by opening up our app>controllers>welcome_controller.rb file and making it contain:
class WelcomeController < ApplicationController
  def index
    @quote = Quote.new
  end

  def create_quote
    Quote.create(quote_params)
    redirect_to root_path
  end

  private

  def quote_params
    params.require(:quote).permit(:content, :author_name)
  end
end
We are doing three things here:
- We’re setting up a @quote variable to pass to our view that contains a new instantiated quote object that we’ll be using in a form (that we’ll construct below).
- We’re setting up a new method called create that will be called when we submit the form. This method will create and save the quote in our database.
- We are telling our controller to only accept the content and author_name parameters from our form. This is called strong params and is a security feature built into Rails to help prevent malicious attacks.
Since we built a new method, we’ll need to open up our config>routes.rb file to add in a new route on a new line 4:
post '/create-quote', to: 'welcome#create_quote', as: 'create_quote'Which will look like this:

This is the basic form of a route in Rails. First we set up which request type we expect (i.e. a “POST” type, which we’ll talk about in depth later. In short, a POST request type is typical for form submissions intended to “create” something, where a bunch of data is sent “under the hood” of the URL. By contrast, a GET request type has all the data in the URL; e.g. /some-path?with=someVariable).
Now, let’s go ahead and open up our app>views>welcome>index.html.erb file and at the bottom we’ll enter our create quotes code and quotes list:
<h2>Create a Quote</h2>
<%= form_with model: @quote, url: '/create-quote', local: true do |f| %>
  Quote: <br /> <%= f.text_area :content, required: true %> <br />
  Author: <br /> <%= f.text_field :author_name, required: true %>
  <br /><br />
  <%= f.submit "Create Quote" %>
<% end %>

<ul id="quotes_list">
  <%= render partial: 'quote', collection: @quotes %>
</ul>
Ok - this is a LOT going on here so let’s walk through what we just did.
First, we created a “second heading” (<h2>) tag then we set up our form. The Rails “form_with” method takes a few parameters to indicate what model we’re working with, the URL to post to, and how to submit the form...i.e. the “old fashioned” way locally where it will refresh the page after we submit. We’ll talk about the more “modern” way later.
Inside the form we set up our two fields. For now we’re using simple line breaks (<br />) for formatting, but feel free for homework to use CSS to style the form. We used a text_area for our quote content since it might be long, and we used a text_field for our author name since it shouldn't be more than 255 characters.
You’ll notice our “required: true” parameters in those fields. That is a way to indicate to our browser to avoid submitting the form if either of those fields are blank. Since you can’t always rely on browser form validations, later in this series we’ll talk about validating data on the back-end.
Finally, we set up an unordered list and make it contain our list of quotes from our database (i.e. the @quotes variable we set up above in our welcome controller). You’ll need to create a file in the app>views>welcome folder called _quote.html.erb (the beginning “_” is important; that indicates it’s intended to be a partial) and have it contain:
<li>"<%= quote.content %>" - <%= quote.author_name %></li>which will look like this:

Now make sure your Rails server is running (“rails s”) and refresh http://localhost:3000. You’ll see our new form and the ability to submit quotes and have them be displayed in our list:
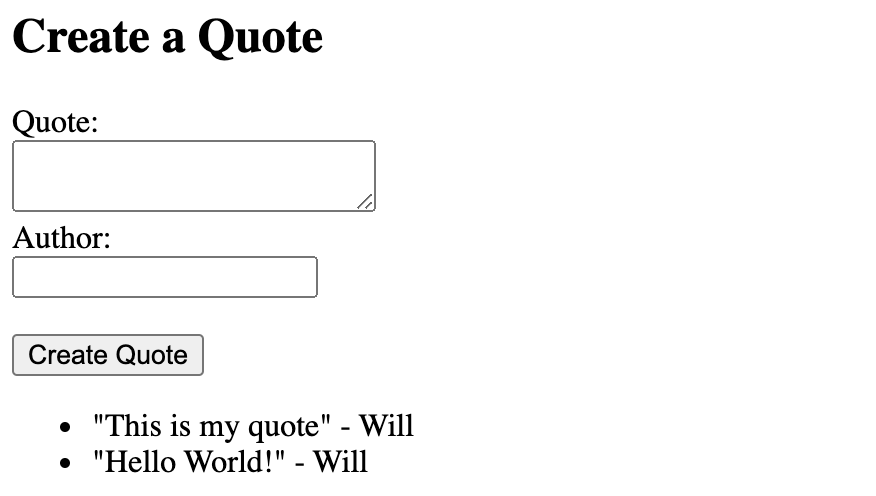
Remember, since we already created a quote in our database manually above, that first quote will appear initially and will remain at the bottom of our list.
Now we’re ready to wire up CableReady to broadcast to other browser sessions listening in so they can have their quotes list magically updated in real-time.
What we need to now is create a “channel” for users to subscribe to and send data through. Rails has a fancy generator to do this, but for instructional purposes we are going to manually create a couple files here.
First, let’s create app/channels/hello_quotes_channel.rb and have it contain this:
class HelloQuotesChannel < ApplicationCable::Channel
  def subscribed
    stream_from "hello_quotes"
  end
end
What this is doing is getting things ready on the back-end side of things to broadcast to people listening on the stream “hello_quotes”.
Now let’s create app/javascript/channels/hello_quotes_channel.js and have it contain:
import CableReady from 'cable_ready'
import consumer from "./consumer"

consumer.subscriptions.create("HelloQuotesChannel", {
  received(data) {
    if (data.cableReady) CableReady.perform(data.operations)
  }
});
What this is doing is setting up things on the “client” (web browser, or “front-end” side) to perform operations that we tell it to when it receives CableReady data.
Now that we have the back-end and front-end ready to communicate with each other via our channel, let’s open back up our app>controllers>welcome_controller.rb file and put in the following on line 2:
include CableReady::BroadcasterThis will make available a “cable_ready” object that we can use to setup and broadcast after we create a quote, so in that same file let’s make our create_quote method look like this:
  def create_quote
    quote = Quote.create(quote_params)
    cable_ready['hello_quotes'].insert_adjacent_html(
      selector: '#quotes_list',
      position: 'afterBegin',
      html: render_to_string(partial: 'quote', locals: {quote: quote})
    )
    cable_ready.broadcast
    redirect_to root_path
  end
So the first 18 lines of our app>controllers>welcome_controller.rb file should look like this in VSC:

Now, before we restart our server and test it out, you are going to want to make sure you have a redis server running. To test if you do, run the following command in your terminal:
- ps aux |grep redis
You should see something like this in your output, indicating that a redis-server is indeed running on port 6379.

If you don’t see that first line, then you are going to need to install and/or start a Redis server. In Mac terminal window, you can simply “brew install redis” and then “brew services start redis”. In your Ubuntu environment within Windows, you will need to follow this tutorial.
Ok, assuming you have Redis up and running at this point, restart your Rails server (i.e. close out of it with control-c and then start it back up again with “rails s”). You’ll want to open two browser windows at localhost:3000. The first one can be your normal Chrome browser. The second one can be a different browser or an incognito window with Chrome, which will establish a different session so you can properly test out ActionCable with CableReady.
Put your two browsers side by side, similar to how Hopsoft did it in his video, and then test creating a quote one one side. You should see it magically appear on the other side when you submit the quote!

If that didn’t work for you, you’ll need to go over the above carefully again, or feel free to leave a question in the comments below.
Ok, before we go on to create a Reflex, at this point we’ve generated a lot of code and new files, so let’s be sure to visually inspect our changes (e.g. using VSC or “git status” and “git diff”), and - assuming your changes look like this commit diff - then let’s go ahead and make our commit and push it to GitHub.
- git add .
- git commit -a -m "Hello World Quotes with ActionCable and CableReady"
- git push
Great. Now let’s create a Stimulus Reflex by first creating a new folder app>reflexes and in there create a file called quotes_reflex.rb. In this new file (i.e. app>reflexes>quotes_reflex.rb), put the following lines:
class QuotesReflex < StimulusReflex::Reflex
  include CableReady::Broadcaster
  def destroy
    id = element.dataset[:id]
    Quote.find(id).destroy
    cable_ready['hello_quotes'].remove(
      selector: "#quote-#{id}"
    )
  end
end
Save the file. What we are doing here is setting up our QuotesReflex to destroy the quote and broadcast to all listening clients that we did so.
Now, open up your app>views>welcome>_quote.html.erb file and and let’s change it to this:
<li id="quote-<%= quote.id %>"
  data-reflex="click->QuotesReflex#destroy"
  data-id="<%= quote.id %>">
  "<%= quote.content %>" - <%= quote.author_name %>
</li>
By filling out our quote partial like this, we are adding an element id so Cable Ready knows what element to remove, we’re assigning the reflex to the quote <li> element, and we are setting it up to call the destroy method when we click on the element. We’re also adding the data-id attribute so that our reflex knows which quote to destroy on the back-end.
Now, restart your server, reload your two browser windows and give it a shot. Add new quotes and see them replicated, and then click on them to see them removed!
If you are new to web development, hopefully that wasn’t too difficult. If you are an experienced web developer learning Stimulus Reflex, your jaw is probably on the floor right now. That was ridiculously easy to build compared to other JavaScript libraries and patterns such as Redux/React.
Now, that being said, we are next going to replicate what we just did using Redux/React so you can learn a completely different approach for building responsive web applications. We won’t use Redux/React very much for the rest of Part 1 of this tutorial (i.e. web application development), but we will revisit Redux/React more fully in Part 2 when we do mobile development with React Native.
Before we continue, be sure to examine the new folder/file we created, and look at the file we modified (i.e. visualize it in VSC or “git status” and “git diff”), then - assuming your changes look like this commit diff:
- git add .
- git commit -a -m "Use StimulusReflex and CableReady to remove quotes"
- git push
Good. Now we’re going to enter a different world.
Comments
Interested in participating in the comments on this article? Sign up/in to get started:
By signing up/in with Satchel you are agreeing to our terms & conditions and privacy policy.