Shell Scripting and Cascading Style Sheets (CSS) :: Full-stack web development "Hello World" tutorials for entrepreneurs: Part 2 of 10

This post is part 2 of a 10-part series within a series that is designed to teach full-stack web development for entrepreneurs. Here we’ll dive into Shell Scripting and Cascading Style Sheets (CSS).
Shell Scripting
Before we move on to CSS, it’s important for us to take a moment to write a quick hello world tutorial in shell script so you understand some of the basics behind scripting directly in your unix terminal.
For a bit of background, the term “scripting” refers to writing code that performs tasks by software that is usually already compiled and ready to receive and execute commands. Languages like Ruby and JavaScript are traditionally scripting languages, whereas languages like C and C++ are traditionally compiled (though, like many things, those definition lines can sometimes be blurry).
Anyway, for our purposes here we’re going to go one level up (back) in our directory to get to our apps folder, and then we’re going to create and open up a new file called hello_world.sh:
- cd ..
- vi hello_world.sh
When in your vi editor you’ll need to press “i” to get into insert mode, then enter the following in the first two lines of the file:
#!/bin/sh
echo "Hello World!"
Press escape to exit insert mode, then type in :wq to write (save) and quit the file.
Next we need to set the permissions of that file we just created to make it executable, then we’ll execute it:
- chmod 755 hello_world.sh
- ./hello_world.sh
You should see your Hello World! printed out in your console.
As a final tip for your console environment, let’s jump back into your quotesapp folder:
- cd quotesapp
Here is the output from my last few commands from above (you’ll see a more recent version of Ruby, which is fine).
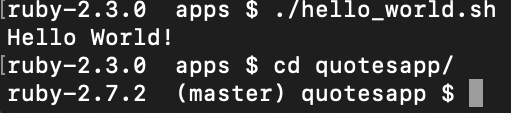
Do you notice all that information before my $ character (which indicates the prompt to start entering shell commands)? This tells me which ruby version I’m currently working with, and which branch of git I’m on. This is extremely helpful when working across multiple projects and branches to make sure I’m in the right place with the right environment setup.
To get this in place for your shell terminal, let’s go ahead and open up your .bash_profile file:
- vi ~/.bash_profile
And in this file, (pressing “i” to get into insert mode again) at or near the top of the file you’ll want to insert this simple shell function into three lines:
parse_git_branch() {
    git branch 2> /dev/null | sed -e '/^[^*]/d' -e 's/* \(.*\)/ (\1)/'
}
And then after the line where it says “Load RVM into a shell…” you’ll want to paste in the following:
PS1="\$(~/.rvm/bin/rvm-prompt) \$(parse_git_branch) \W $ "Then press escape to exit insert mode and press :wq to write and quit the file.
Now, to pick up the changes you just made, open a fresh terminal tab (usually cmd-T, or just exit and open terminal again).
When you go to your quotesapp folder you should now see your ruby version, your git branch, and your working directory (which is what the \W thing is in the PS1 variable we entered above).
Note for Mac users on Catalina OS or greater: if you are not seeing something like “ruby-3.0.0 (master) quotesapp $” for your new terminal prompt, then this means you are on the default “zsh” shell instead of “bash” shell. You need to execute “chsh -s /bin/bash” in your terminal (no quotes) - enter your password - then open a new terminal window. Another way to do this is to go to your Mac settings, “Users and Groups”, click the lock to make changes, right click on your name, open advanced settings, and change your “login shell” to “/bin/bash”.
And that’s it for now as a way to introduce you to the world of shell scripting. Every time you open a terminal window, that .bash_profile file gets run to setup custom things for your unix user’s profile. We pasted in a function and edited a variable to call that function so that your shell prompt gives you more helpful information as you use it.
For further study on shell scripting, check out https://www.shellscript.sh/
Cascading Style Sheets (CSS)
Cascading Style Sheets are what brings an HTML document to life visually. Part of your homework for this tutorial series is to work through a full CSS tutorial that I’ll link to below, but for now we’re going to change our Hello World! from before in our HTML section to be green text after taking a quick snapshot of our black text to use as a background image in CSS.
Ok, first, take a quick snapshot of your hello world example, like this:
]

For Mac users, you can press “shift + command + 4” to quick snap a screenshot of a section of your screen. For Windows users, it’s “Windows key + Shift + S”.
If you are having trouble, you can simply drag the above image onto your desktop.
Now, once you have this image on your desktop you will need to move it into your app>assets>images folder within your quotesapp folder. You can either use the mv command to do this in your terminal, or you can manually open up that folder in your windows/mac and drag in your screenshot.
Rename your image file to hello_world.png
Now, in VCS open up your app>assets>stylesheets>application.css file and on line 17 add:
h1 {color: green} In VCS, it will look like this, which allows you to pick a different color easily if you’d like:

Save the file and then go to http://localhost:3000 and you should see your Hello World! in green.
Now, as a next step let’s create a <div> element below our hello world in our app>views>welcome>index.html.erb file:
<h1>Hello World</h1>
<div id="hello_world"></div>
Which will look like this:

And back in our application.css file let’s go ahead and apply some styles to that specific div element, starting on line 18. You will need to identify and substitute here the exact dimensions of the screenshot snippet you took (mine was 388x100px - you can check by viewing the properties/info of the file after right-clicking it):
#hello_world {
  background-image: url(image-path('hello_world'));
  width: 388px;
  height: 100px;
}
Importantly, in order for the image-path() method to work in this file, we’ll need to rename the file from application.css to application.css.scss. To do this, right-click the file in VSC and click “rename”.
After you rename the file, restart your rails server in your terminal by stopping the server (ctr+c) and entering “rails s” again.
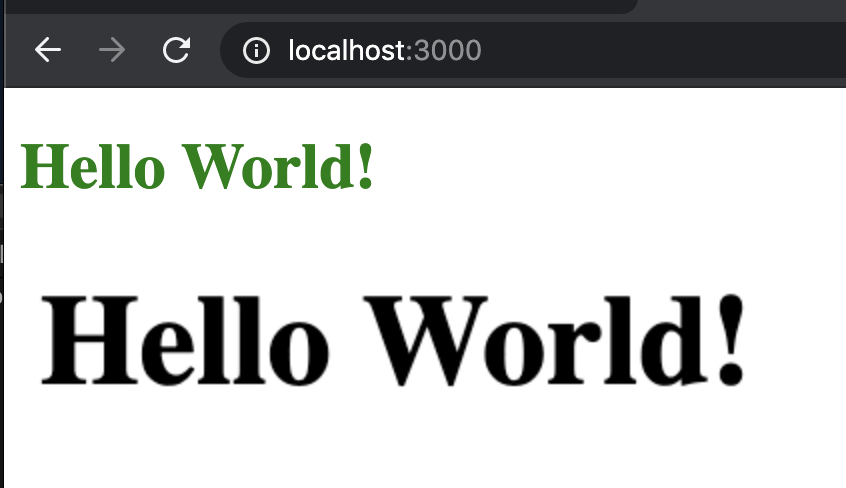
Go to http://localhost:3000 and you should see something like the following:
Now, back in our css.scss file let’s add another property to see the border of that div we just put in:
#hello_world {
background-image: url(image-path('hello_world'));
width: 388px;
height: 100px;
border: 1px solid black;
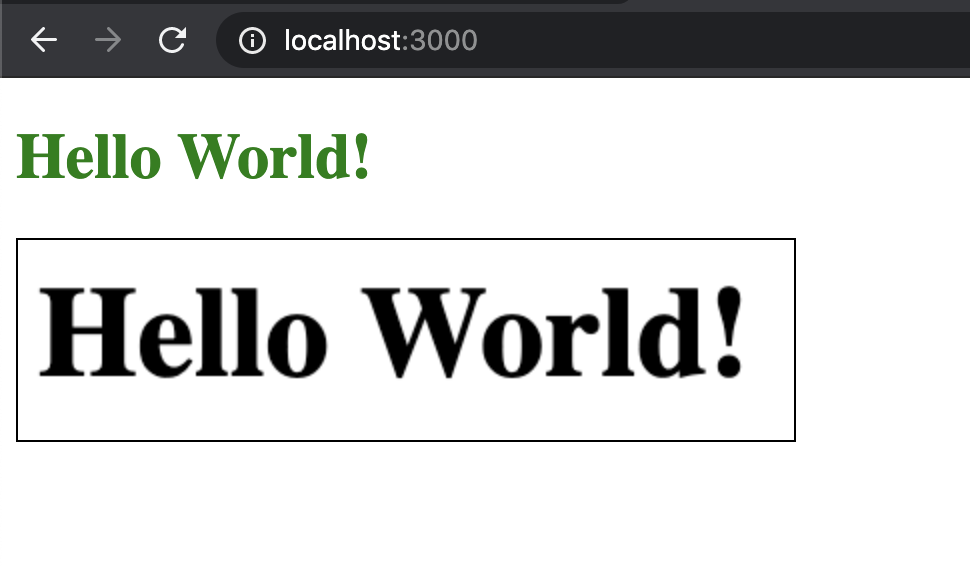
}Save the file, and refresh your browser. You should see something like:
Diving into all the nuances and features of CSS is beyond the scope of this tutorial, although we’ll be using a lot of CSS moving forward that you’ll pick up along the way.
FYI, when we changed the file to have a “.scss” file at the end, we were turning that file into a Sass file, which is a meta-level CSS language. Because the Sass file is compiled by Rails to turn it into CSS, this allowed our image-path() method to be compiled into a proper URL destination to our hello_world.png file before being sent to the web browser.
Your homework for this section, which I’d highly recommend (i.e. dare I say “required”) is to follow this full CSS tutorial from W3 schools.
Set VSC to default to two spaces for tabs
Before we continue, go to your settings in VSC (in the file menu) and set tabs to be two spaces by default:
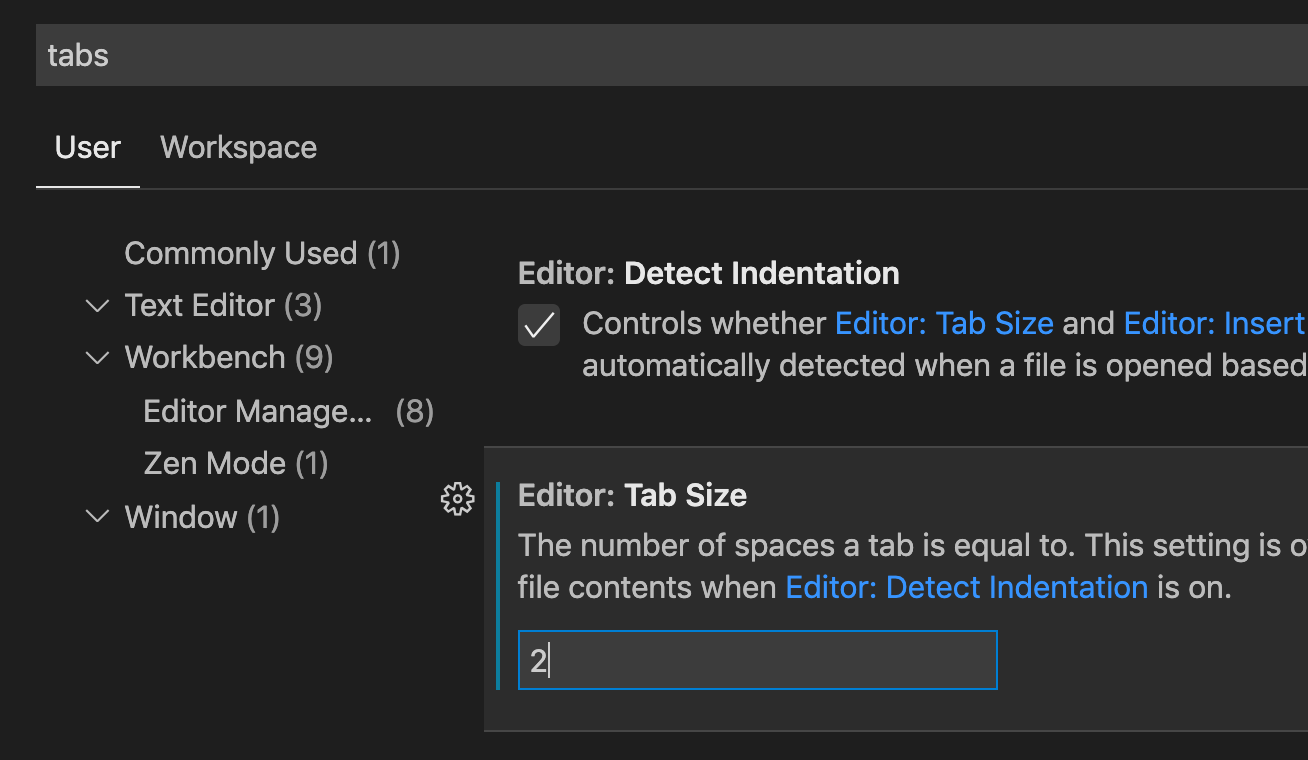
This will help make our code more readable and facilitate collaboration.
Comments
Interested in participating in the comments on this article? Sign up/in to get started:
By signing up/in with Satchel you are agreeing to our terms & conditions and privacy policy.