How to buy bitcoin and trade cryptocurrencies: a step-by-step guide

While 2017 has been a massive year of growth for blockchains, obtaining cryptocurrencies and trading them is not for the faint of heart. In this article, my goal is to explain how to buy, store, and trade cryptocurrencies across multiple exchanges and a hardware wallet, including how to safely participate in token sales (aka Initial Coin Offerings, or ICOs).
Step 1: Constant Vigilance
It really is the wild west out there, so be careful. The number of phishing scams and outright fraud is growing exponentially. The signal-to-noise ratio for quality news and educational content is small, which unfortunately allows scammers to do their thing.
Earlier this week, the SEC busted a guy that sold “PlexCoins” and raised $15m by promising investors a 13x return and increased “access to cryptocurrency services” (whatever that means).
And that’s just one example. There are multiple stories of experienced crypto-investors falling for scams and losing large sums of money.
Without essentially expecting to be scammed all the time, it’s easy to be tricked.
A few months ago I wrote up a primer article on blockchains, protocols, and token sales that I’d recommend reading if you are new to the crypto world.
And of course, if you decide to play the game and start buying cryptocurrencies, know there is a high probability of losing most (if not all) of your money. Be careful out there.
Step 2: Buying your first bitcoin on Coinbase
Ok, if you’ve decided to jump in, it’s a good idea to go with exchanges that are well-known (to avoid scams), so I’ll walk through the example here of buying bitcoin on Coinbase, which is based in San Francisco and is one of the largest exchanges in the world.
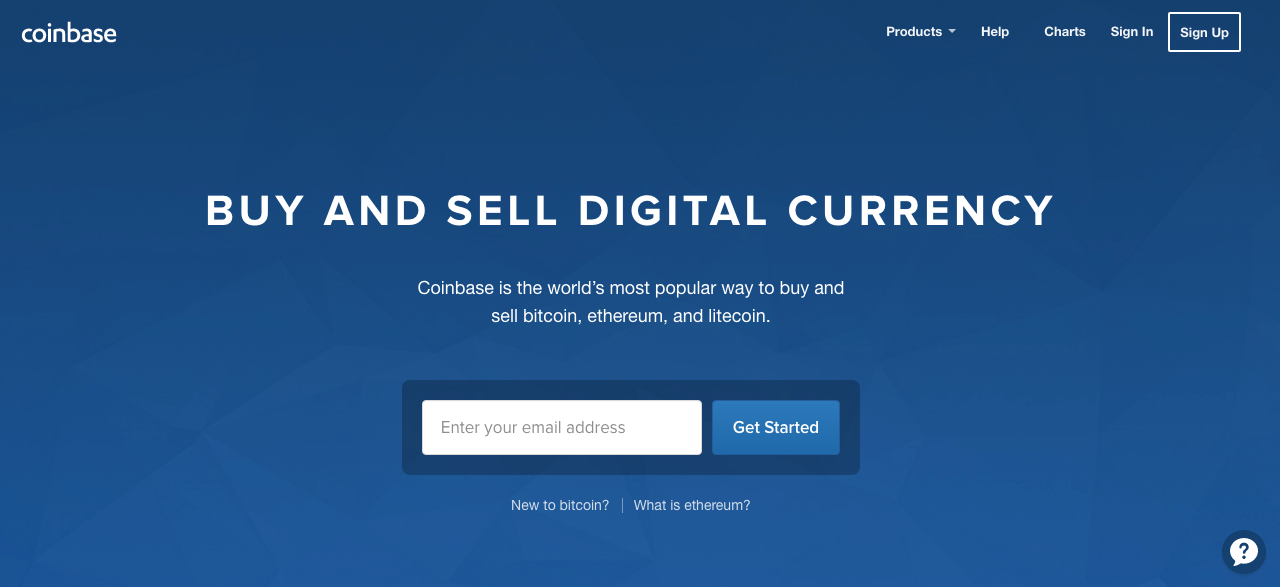
After signing up, you’ll need to verify your identity and jump through some important hoops, but then you’ll be faced with the option to buy bitcoin with either your bank account or credit card.
To save the most amount of money on transaction fees (which I’ll explain below), you can just move cash from your bank account into your “USD Wallet” (or EUR, GBP wallet), but this takes about week. If you want to lock in at a price before that, you can buy bitcoin directly (a “market order”) and pay Coinbase’s transaction fee. As of Oct 12, 2017, Coinbase now lets you trade LTC/BTC/ETH instantly if you do a market buy on their platform, up to $25k.
Step 3: Moving funds from Coinbase to GDAX
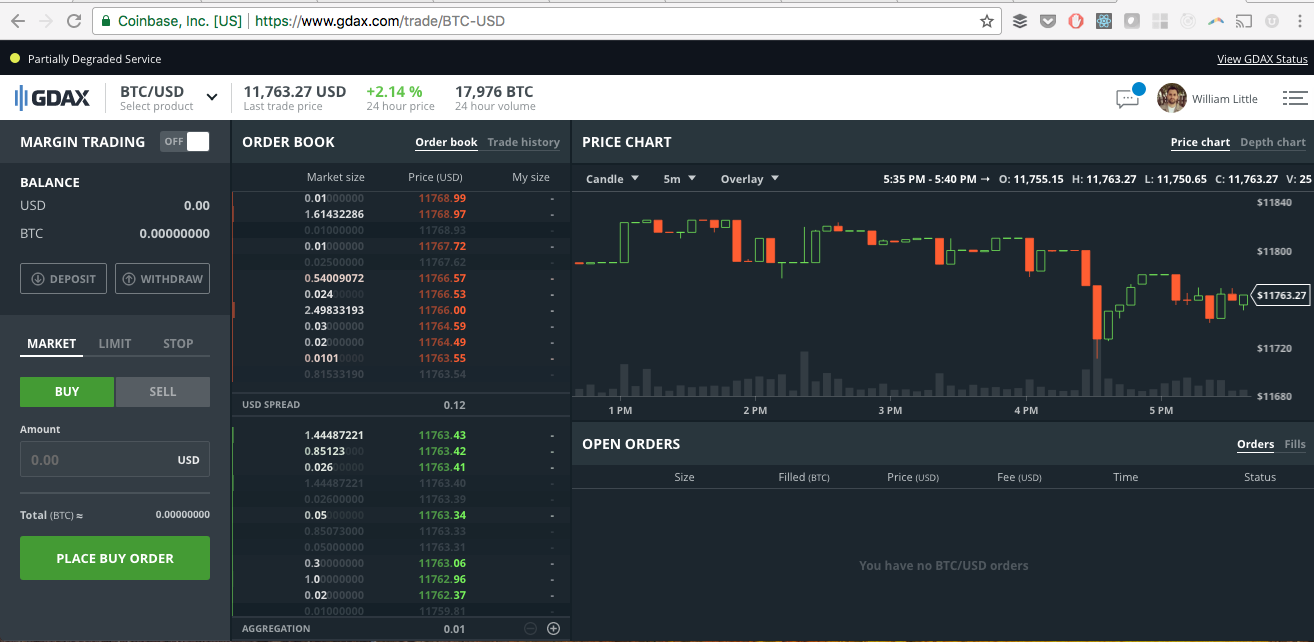
Once you have access to use your currency, you’ll want to move the BTC (or any other currency) into Coinbase’s exchange interface, GDAX.
To get started, login with your Coinbase credentials and you’ll see an interface like this (don’t be intimidated, we’ll walk through it):
Click on “Deposit” here:

And then click over to the “Coinbase Account” option:
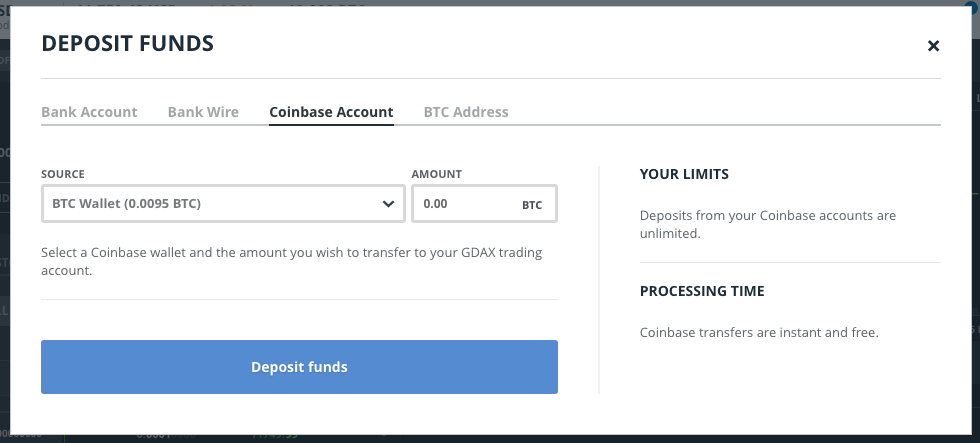
Select the amount you’d like to transfer over (in this example we’ll use 0.0095 BTC), which after submitting will then instantly show up to your available balance like this:
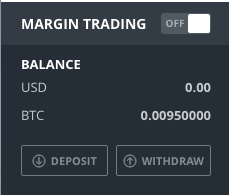
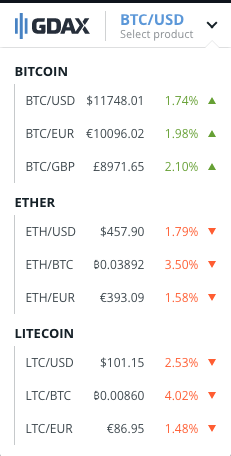
Now, with your available funds you can buy coins that are traded on GDAX. (As of this writing only bitcoin (BTC), Litecoin (LTC), and Ethereum (ETH) are available).
Step 4: Make your first trade on GDAX
We’ll next walk through an example of buying ETH with BTC. This same process can be done with any available currency pairing:
After clicking into the market of your choice, you’ll see the available balance of the currency you’re trading with on the top, and the current balance of the currency you are buying on the bottom.
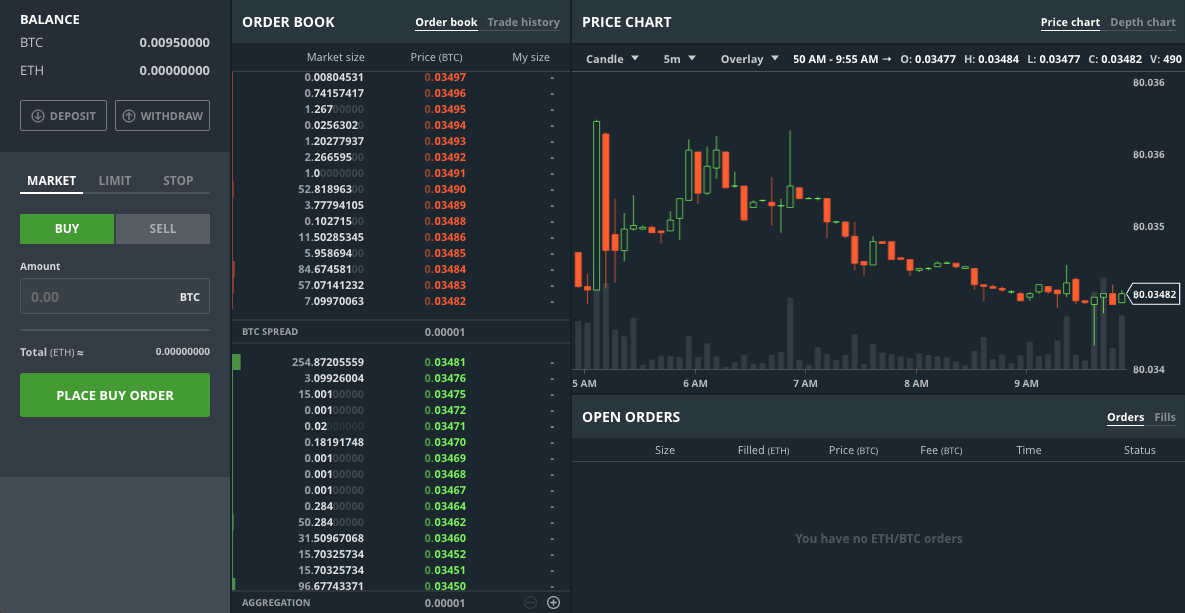
All the red and green numbers you see here are the current asks and bids, respectively. An “ask” is the price someone is willing to sell the coin, and a “bid” is the price at which someone is willing to buy it.
Now, we could put in a “market” order here to buy the ETH, which has the advantage of locking us in instantly at the best available rates in the order book, but this makes us the “taker” (to use trading terms) and therefore comes with transaction fees.
By all means, if you feel like a price is going to continue to rocket upwards, then a market buy is an effective way to get in on the action.
That being said, if you’re willing to put in your own bid into the order book and wait for someone else to come along and sell their currency at your bid price, then you become the “maker” and are not charged any fees for a transaction. This works for selling your currency as well.
Therefore, use limit orders when possible to avoid fees and save money.
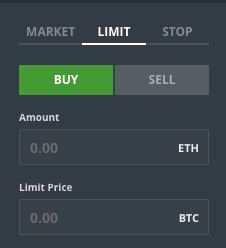
Go ahead and click on the “limit” tab:
We’ll be buying ETH with BTC by putting a buy limit order in the order book. A simple tip to fill these fields in is to click the highest bid (green) number, then click your current available balance. This will auto-populate your “Amount” and “Limit Price” fields.
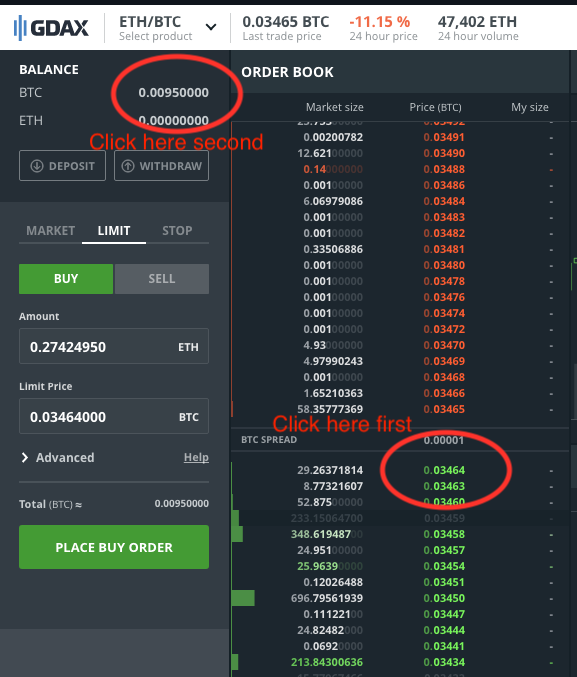
You can then adjust the amount manually if you want, and then click the highest bid again to pre-fill it with that number (rather than having to type it out), as the bid numbers can change rapidly.
In this example, we’ll go ahead and buy 0.01 ETH.
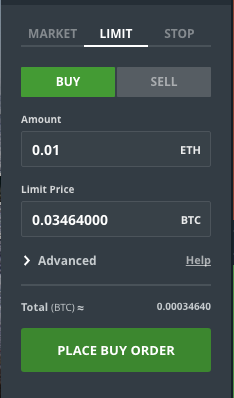
Clicking “Place Buy Order” adds your order to the order book at the top of the bids, unless things change rapidly since the time you selected your price, which can happen:
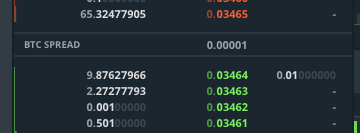
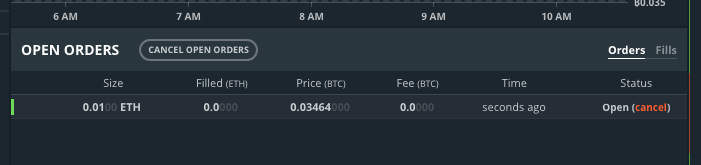
You can click “cancel” anytime, of course, which — if you are really trying to make the buy now — you may need to do if you see your bid drop down in the queue too far (i.e. the price goes up, making your bid less attractive, for now).
For example, I just put in another limit buy order for 0.01 ETH, and it quickly dropped down in the bid queue:
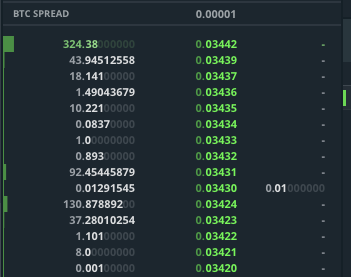
I could wait it out, or I can click cancel, quickly click the highest bid price again, and re-place the order (which I’ll do). The order book then look like this, putting me back at the top of the bid queue:

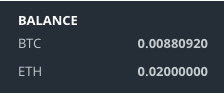
And sure enough, a taker came along and quickly filled my order, which leaves me now with the following balance:
Step 5: Move your cryptocurrencies into a hardware wallet
Exchanges are vulnerable to attack, often don’t support new coins from forks very quickly, and don’t allow you to participate in most legit ICOs because of how they store your coins. Therefore, it’s a good idea to move your cryptocurrencies to one or more hardware wallets.
I’ll use a Trezor wallet as an example here, although most hardware wallets have a similar user experience. If you go with a different brand, you’ll be able to follow the analogous steps easily enough. (For a free option, you can use a paper wallet for the time being.)
Follow the setup guide from your wallet’s website (to avoid scams!). Trezor has you write down 24 words as part of its recovery protocol, which you should write on a piece of paper and store somewhere safe (e.g. a safe deposit box in a bank).
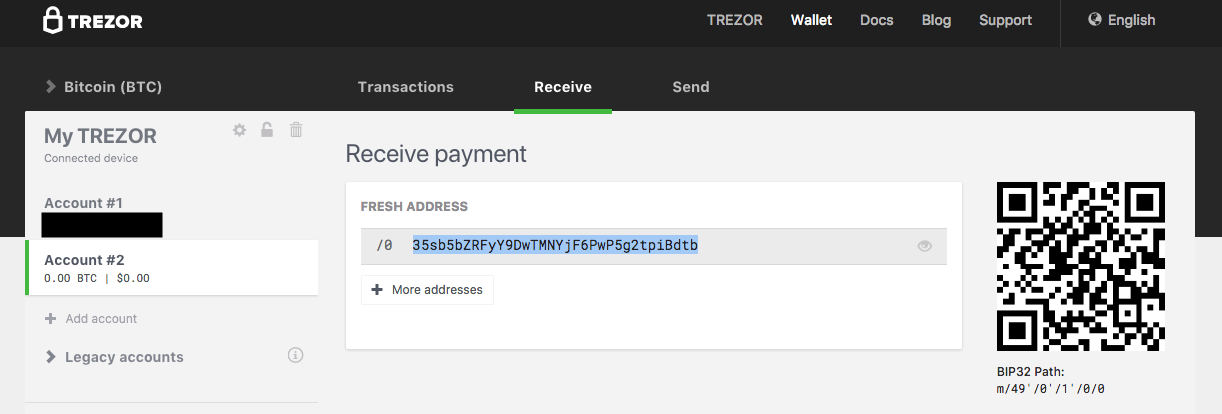
Once you are setup, follow instructions to generate a fresh address to receive BTC like so:
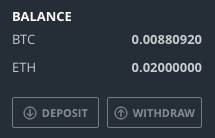
Then, go back to GDAX and click “Withdraw”:
Which brings up this window (which — yes — bitcoin transactions are often delayed….welcome to the scaling problem, which is significant):
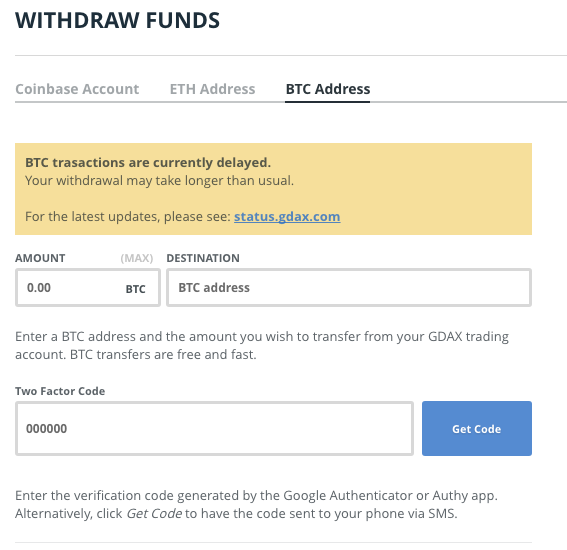
As a quick aside on the authenticator app, when you get new phone you’ll need to restore your Coinbase setup from your recovery code, so be sure to also write that down and save it in a secure place!
For large transactions, it is a good idea to move a small amount first to confirm everything is working OK, then make your larger transaction after that.
We’ll go ahead and move 0.001 BTC into our new address generated by our hardware wallet:

Triple check, of course, that your destination address is correct, then fire away.
You can use blockchain.info to check if transactions have been registered yet on the system. For our fresh address, for example, the URL to check is:
https://blockchain.info/address/35sb5bZRFyY9DwTMNYjF6PwP5g2tpiBdtb
On the Trezor website you can click the “Bitcoin (BTC)” tab and choose between the different supported coins:

For moving our Ether into our hardware wallet’s address, this is actually done through the myetherwallet.com website:
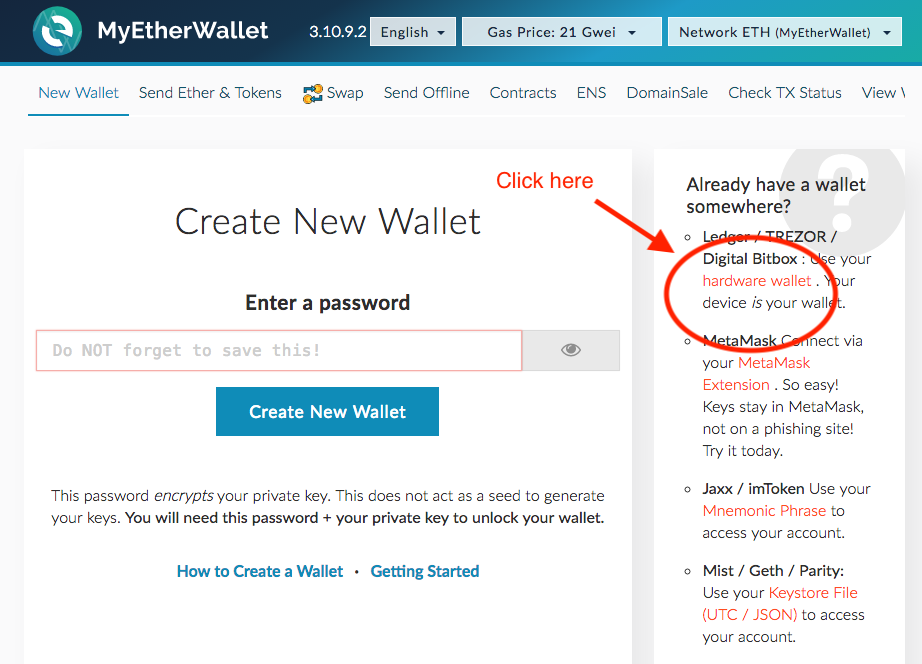
Those who want to use a paper wallet can use this site to generate a private key and a passphrase, but for our purposes here we’ll click on the hardware wallet option:
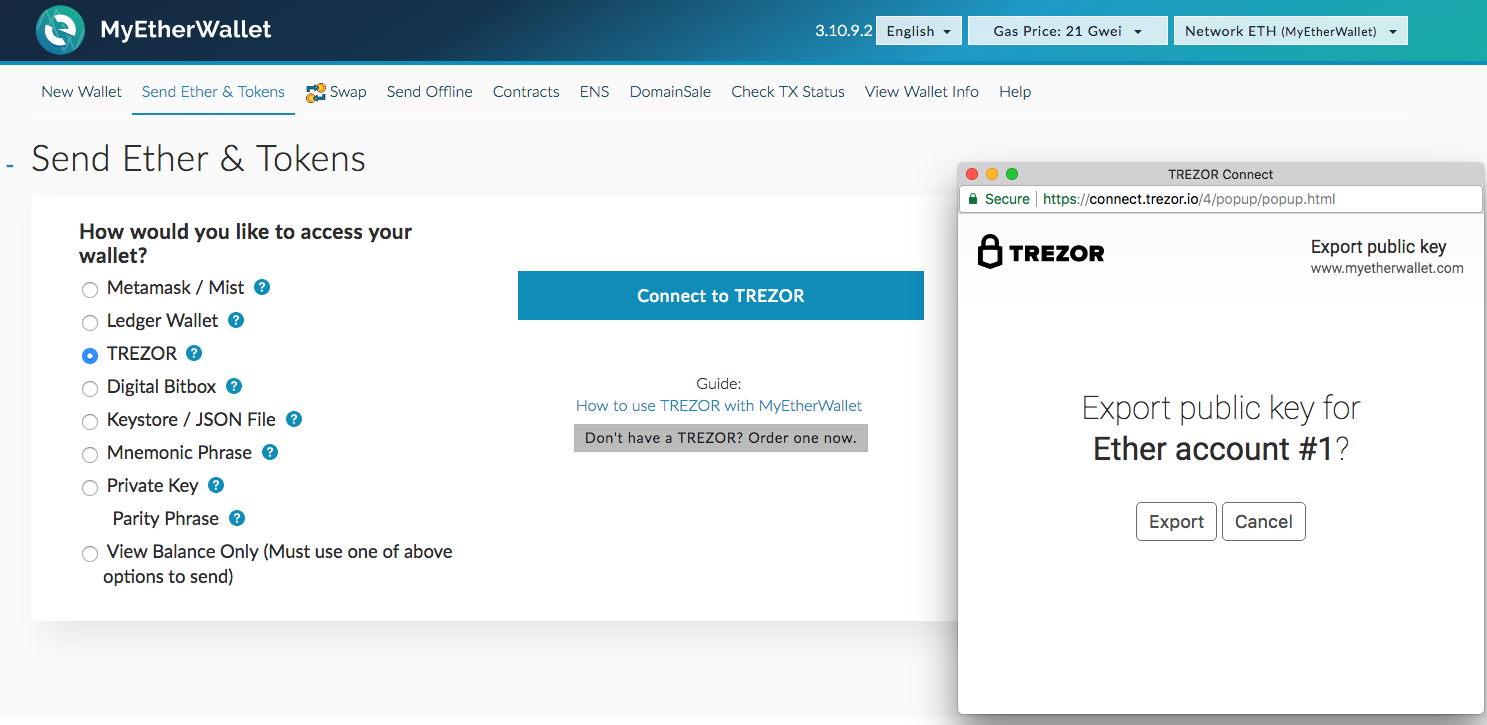
Once you unlock you Trezor with your secret passphrase and export the public key, you’ll be given the option to select an address to use. Go ahead and use a fresh one, which will bring you into an interface like this:
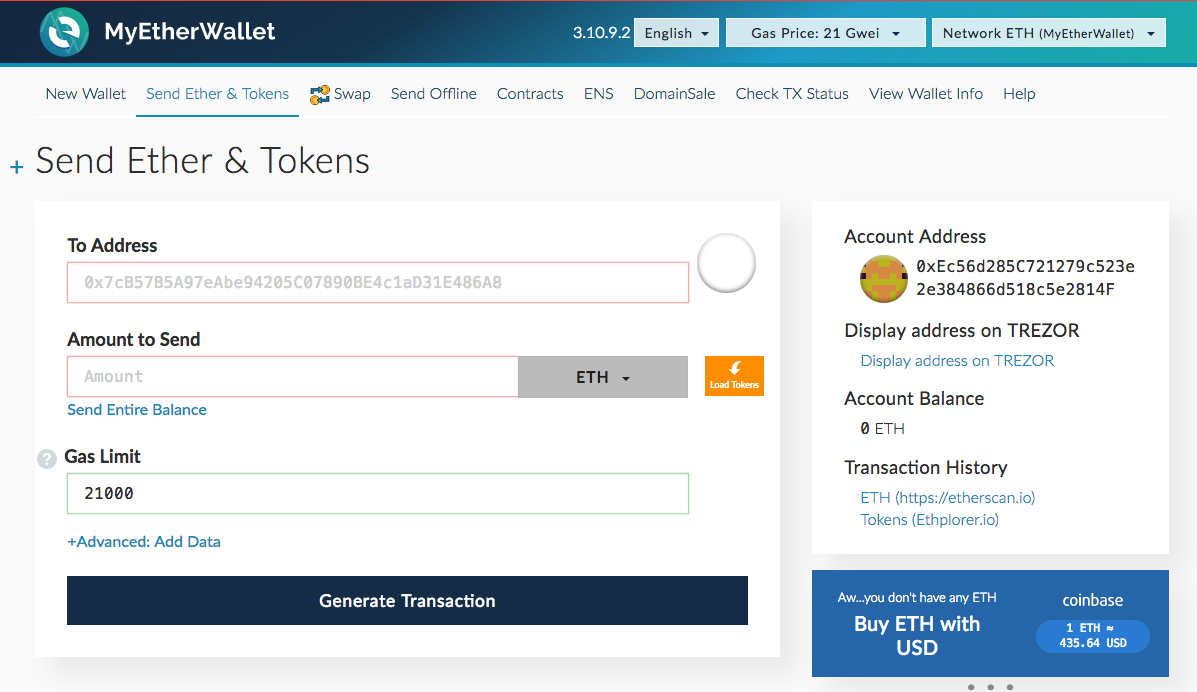
And similar to what we did for BTC, let’s go back to GDAX, select the ETH/USD exchange, and withdraw funds to an ETH address (carefully copy/pasting in the address from our wallet and triple checking it):

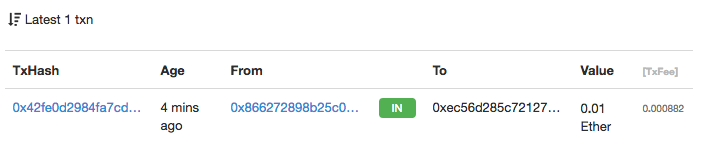
For ethereum, use a site like EtherScan.io to check on your transaction status, which for our example can be done at this URL:
https://etherscan.io/address/0xec56d285c721279c523e2e384866d518c5e2814f
And you’ll see a transaction like this once it hits the blockchain:
Step 6: Move your cryptocurrencies from a hardware wallet into a second exchange
If you want to obtain more coins than just those available on Coinbase/GDAX (i.e. ETH, LTC, and BTC), then you’ll want to move coin into another exchange and make trades there. For our example here we’ll use Bittrex (Update: I’d recommend Binance over Bittrex because it’s a much bigger exchange and the fees are significantly lower (0.1% vs. 0.25%). The same principles below apply so you can follow along easily).
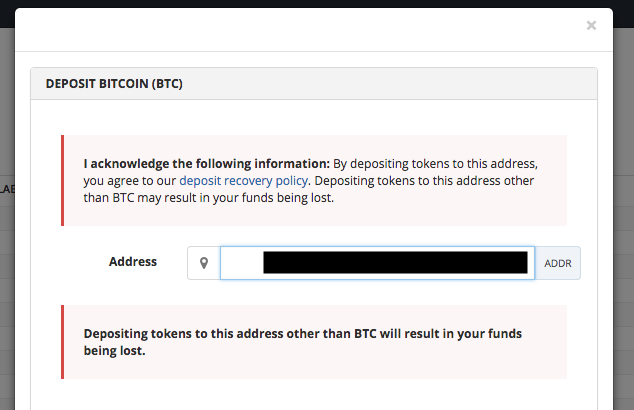
Once you get through setting up and verifying your account, go to the “Wallets” tab and click on the “+” next to Bitcoin:

This will bring up an address for you (which I’ve blackened out since I’m actively using this address, but it’s a standard 34-character bitcoin address)
To send BTC from your hardware wallet, you follow a similar process:

Triple check the address in Bittrex that you’ll be sending to, always test with a small amount first, and then follow up with the full amount in a second transaction.
Again, use the tracking websites (blockchain.info, EtherScan, etc…) to ensure your transactions are going through correctly.
You’ll see your currencies show up in Bittrex wallet section first under “Pending”, then they will move to “Available Balance”
Step 6: Trade BTC for another cryptocurrency on a second exchange
Finally, we’ll follow a similar procedure on Bittrex (or Binance, or any other exchange you chose) as we did on GDAX to put in a buy limit order to acquire another coin.
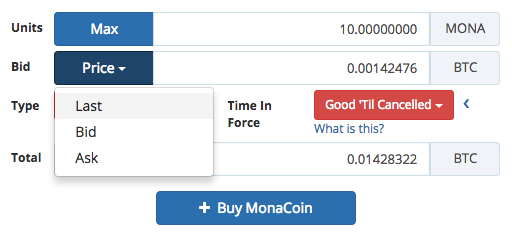
Bittrex’s user interface for a given market looks like this:
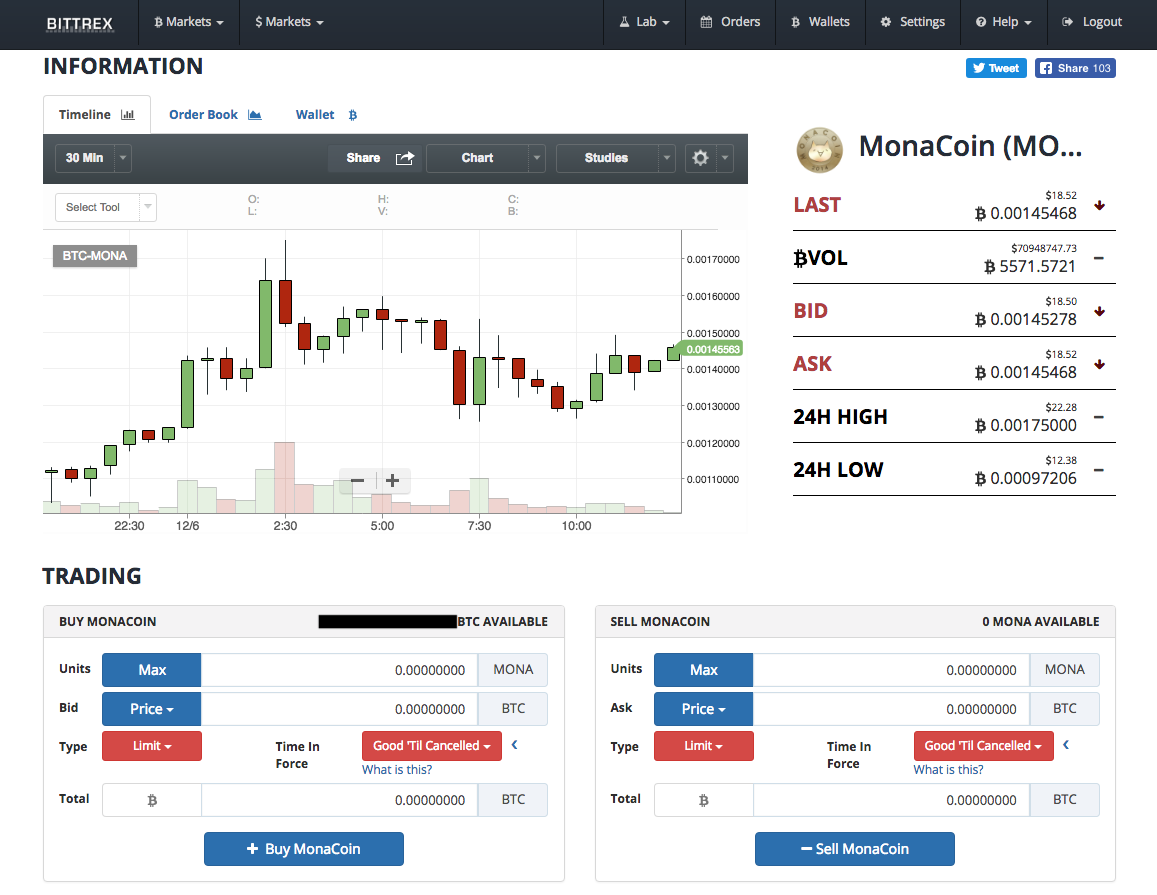
The same principles apply. Go ahead and put in the number of units you want to buy (or just click max), and select the latest bid price easily by clicking in the drop-down, and off you go.
Step 7: Do you homework on token sales/ICOs and trade responsibly
If you aren’t yet up to speed on blockchains, protocols, and token sales, then check out my primer article on these topics as a good place to start.
Always do your homework to verify the team, concept, plan, legality, etc… before you participate in a token sale. It’s a good idea to scan Linkedin, for example, to see if you can get connected to a team member or advisor and have a conversation to verify the project’s authenticity.
If/when you decide to participate in a token sale, most are done on the Ethereum blockchain (i.e. you send in ETH, they send you back their token).
In this case, you follow the same protocol we did above. That is, send in a small amount first and verify you are sending to the correct smart contract by using EtherScan:

Assuming this looks correct for your applicable token sale, then go ahead and send the full amount.
If you ever want to trade back into a fiat currency, then you can reverse the above process. Place market or limit sell orders (i.e. asks rather than bids), then deposit funds back to your bank account from GDAX or any other exchange where you can legally do so.
Author’s note: thanks in advance for any/all feedback, corrections, and comments to this article. Subscribe to my newsletter and I’ll let you know when I write more about blockchains (as as heads up, I also write about startups, technology, and health & fitness science). Many thanks to Tony and Andrew for help editing this article. And finally, feel free to comment below, hit the clap button, and/or share this article with a friend if you’ve found it helpful. Thanks!