How to work with a visual designer to efficiently build mockups for your app

Next up in our intro to web and mobile development series, here we'll discuss how to move from wireframes to more detailed images of your user interface (i.e. the “mockups”). This may sound obvious, but the actual creation of mockups should be reserved for the most talented visual designer on your team. If you don't have a legit person for this, recruit one before attempting to move forward here (seriously).
[Author's note: I wrote the first couple dozen tutorials in this series a few years ago and I'm in the process of updating the content to reflect the evolution of best practices in the industry. Please comment if you see anything I missed that should be updated. Thanks!]
THE MOCKUP ITERATION PROCESS
Following essentially the same process with wireframes we discussed previously, within the UX Flow Chart you've created (we recommend a Google “Chart” Doc), start replacing links on nodes from the finished wireframe to the current draft of the mockup.
Start with the home page/view and something simple like your login page and work through your nodes from there.
START WITH GRAYSCALE MOCKUPS
OK, so here is the home page wireframe that we came up with last time for ourexample app:
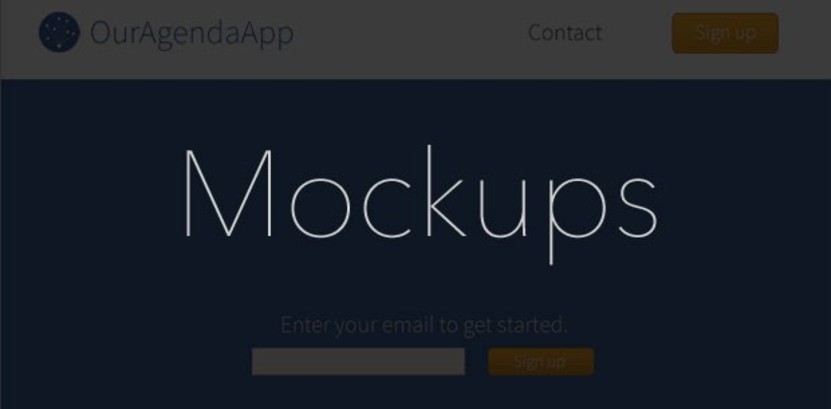
From this, our designer (Tim) came up with the following mockup:
And here is roughly what the above-the-fold will look like on mobile devices:
You get the idea….The key thing I'm looking for in these mockups is that all the elements that need to be designed are in place, knowing that the exact copyand number of links/menu-items, etc… can be easily changed after the HTML/CSS/JavaScript (i.e. the “cutup”) is built. I don't need to waste time having Tim drill down to this level of detail when it is inevitably going to change anyway. Plus, it's waaaaaay easier to change these kinds of things in the code versus in Photoshop.
THE DASHBOARD
For our example app, the dashboard is the one of the most important views to get right, so based off the wireframe we came up with last time, which looked like this:
Tim then came up with this mockup:
Sweet. As the back-end software engineer and product manager, I see that this mockup has all the right elements in it (i.e. good enough for now — don't be a perfectionist) and if I need to tweak a little something it can be done after the cutups are done.
In other words, between this dashboard mockup and the homepage mockup, essentially all the elements/styles are in place to act like lego pieces that I can then use to build out the rest of the app. Tim will still cutup the rest of the nodes to make my life easier, but having these two main mockups done is most of the heavily lifting.
ONWARD TO COLOR
Now is the time to think about color schemes. Sometimes you can get a good head start on this by looking at your mood board (← see step 7 here), but in reality you want to come up with a diverse set of color ideas, look at 'em, and go with what feels right.
Usually you want a couple main colors and an accent color. We landed on white and blue w/ an orangish accent like this:
And here, then, is our dashboard node:
REMEMBER VISUAL WEIGHTING PRIORITIES!
When working with designers on mockups, the team needs to be in agreement on visual weighting (i.e. what a user's eye sees first), and this needs to be translated clearly into the mockup.
For example, on our homepage above, we want users to:
- Quickly understand what our app is basically about.
- Signup easily to give it a try.
- Read more to understand the four main resources our app organizes.
- Follow us on social media.
- Get to footer links like about/contact/terms/privacy/etc…
KEEP THE BALL IN THE DESIGNER'S COURT!
And finally, don't waste your designer's time. When she/he sends your team a mockup to look at, embed it in a Google “Drawing” and overlay transparent circle objects in desired places so you can add comments to them (the new version of Drive doesn't appear to allow direct commenting on images anymore — ht: @GuriaFS on twitter):
(Hopefully Google they will bring this feature back so we don't need to do the embed-in-Drawing hack).
- — -
In the next post in this series we will start building out the model architecture of our Ruby on Rails app! Previous post: How to build and iterate wireframes for modern app development.